

Quick guide: measure the frame and the movement route
Compare assembled width, height and base depth—not only the writing surface. Check doorways, floor transitions and the parking location. Verify surface material, supported markers and adjustment instructions. Wheel locks are features to use correctly, not a guarantee against movement or tipping.

- Large 48 x 60 inch surface provides generous writing space.
- Height adjustable frame supports different presenters and working positions.
- Mobile rolling design makes room to room movement easier.
- Magnetic dry erase surface supports notes and presentation accessories.
- - Locking caster system helps keep the board stable while writing.


- Reversible double sided surface provides significantly more writing space.
- Magnetic dry erase board supports notes and presentation materials.
- Rolling stand makes movement between meeting spaces much easier.
- Locking wheels provide stability while writing or presenting.
- - Rotating board design quickly switches between separate working surfaces.

- Double sided design provides two separate dry erase surfaces.
- Magnetic writing surface supports documents, notes, and visual materials.
- Mobile rolling stand makes moving between rooms much easier.
- Aluminium frame provides a practical structure for regular use.
- - Reversible board design helps preserve notes between working sessions.
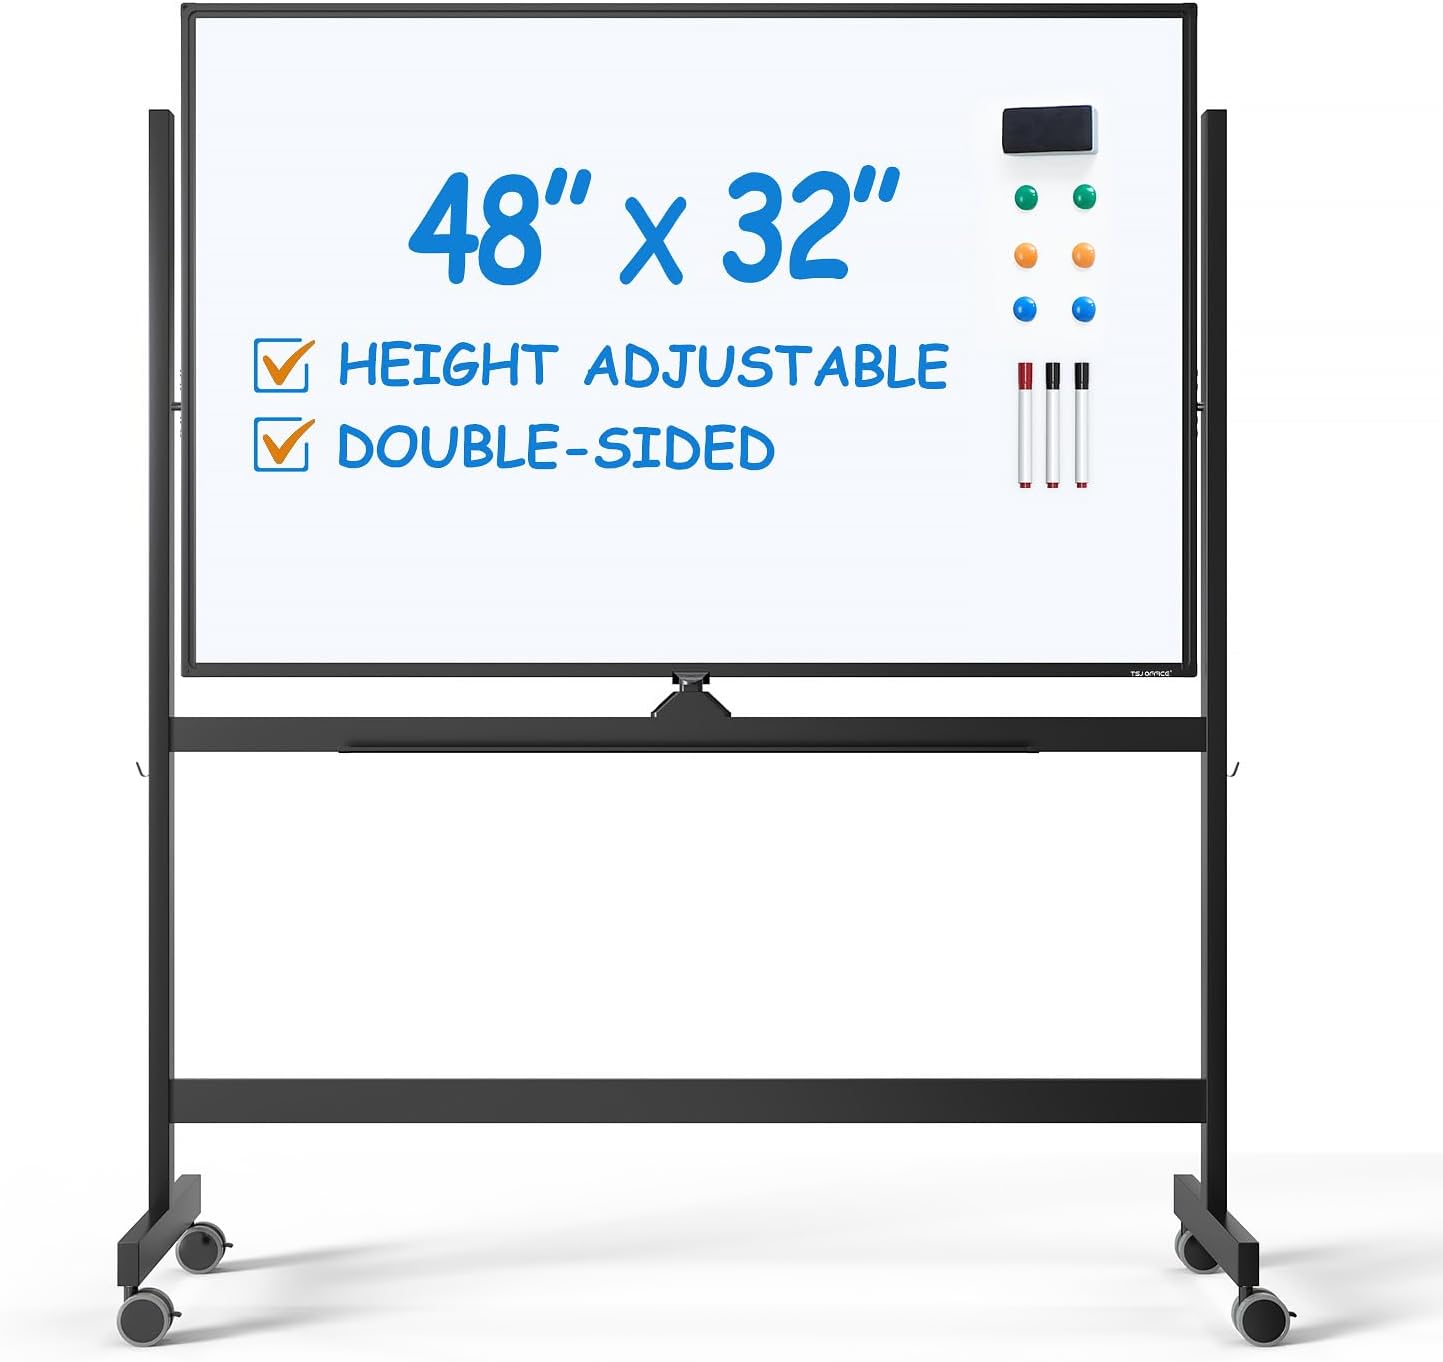
- Large dry erase surface provides generous space for group work.
- Magnetic board supports documents, notes, and presentation materials.
- Rolling frame allows easy movement between different working spaces.
- Lockable wheels help keep the whiteboard stable during writing.
- - Freestanding design avoids permanent installation on office walls.

- Double sided dry erase surfaces provide additional writing space.
- Magnetic board supports documents, notes, and teaching materials.
- Rolling stand allows convenient movement between different working spaces.
- Reversible design keeps important notes available between sessions.
- - Freestanding format works well for classrooms and homeschool spaces.

- Double sided design provides two separate dry erase workspaces.
- Magnetic surfaces support documents, notes, and presentation materials.
- Aluminium frame provides practical support for regular daily use.
- Rolling stand allows convenient movement between rooms and workspaces.
- - Reversible board helps preserve important notes during longer sessions.

- Double sided design provides two separate dry erase surfaces.
- Portable standing frame supports flexible use across different rooms.
- Rolling base makes repositioning the board easier during daily use.
- Reversible writing surface helps preserve notes between working sessions.
- - Freestanding design avoids permanent installation on office walls.
Choose a board for the way you collaborate
A rolling whiteboard is useful when ideas need to move between rooms or when a fixed wall is not available. Start with the work it must support: a short planning session, a classroom explanation, a daily team board or a workshop that stays visible for several days. Those uses place different demands on writing area, height, movement and storage. A large surface is not automatically helpful if it cannot be positioned where participants can read it or parked without obstructing the room.
Think about the content rather than only the product photograph. A project plan may need several columns; a teaching explanation may need space for drawings; a daily task board may need a surface that remains undisturbed between meetings. Decide whether writing on two sides would genuinely help. Reversing a board can separate topics, but it also creates a handling step and may hide information that participants still need. Check the actual supported adjustment and reversal mechanism before treating it as part of the workflow.
Make three practical requirements explicit: the board must fit its movement route, provide a usable writing area and be operated according to the manufacturer's instructions in your room. Add preferences such as a marker tray, a magnetic surface or height adjustment only after verifying them for the exact model. The ranked boards above are a starting point for comparison, not evidence that every listed configuration has identical surfaces, included accessories or movement behavior.
Measure the writing area and the whole frame
The advertised board dimensions may refer to the writing surface rather than the complete assembled frame. Compare both. The overall width, height and base depth determine where the board can stand and whether it can pass through a doorway. A tray or adjustment handle may project beyond the surface. Look up the manufacturer's assembled dimensions and mark the intended footprint on the floor using removable paper before ordering. Do not assume a narrow board face means a narrow wheelbase.
Consider reading distance. Small writing that looks clear to the person holding the marker can be difficult for participants farther away to follow. Plan a representative layout with the headings, diagrams and lettering you expect to use. You may need fewer items and larger writing rather than simply more surface area. If children or participants with different reach requirements will use the board, check the usable writing height and the documented adjustment range without assuming one setting suits everyone.
Leave space around the board for its intended operation. A reversible surface or height mechanism may need clearance that is not obvious in a front-view photograph. Follow the instructions for adjustment and any locking components. Do not compare only the face dimensions while ignoring the room and user. A board that fits neatly against a wall can still be awkward when moved into a session, especially if its base competes with chairs, bags or other furniture for floor space.

Check the route before planning to roll it
Map the complete route from storage to each working position. Measure door openings, corners and any narrow gap between furniture. Include the base, tray and handles in the clearance calculation, and account for the way the assembled board must turn. A board that can pass straight through an opening may still be difficult to rotate nearby. If it must go between floors, verify your building's transport arrangements rather than assuming it can be safely carried up stairs.
Inspect the floor. Rugs, thresholds, cables and uneven surfaces can complicate movement. Caster design and manufacturer instructions matter, and a product described as mobile does not guarantee easy movement on every floor. Plan a clear level route where possible and remove loose obstacles before moving the board. Do not use a generated room illustration or a seller's demonstration as proof of stability in your building. Evaluate the exact assembled board under ordinary permitted use.
Choose a parking location that keeps doors, accessible routes and emergency exits clear. Shared rooms need a known home for mobile equipment, not a board left wherever the last workshop ended. Explain the route and parking position to users. If the room is also used for video meetings, coordinate the board location with the conference camera and microphone guide, while separately testing whether remote participants can actually read the writing.
Compare the surface and accessory requirements
Dry-erase surfaces vary in construction, finish and maintenance requirements. Verify the surface material and supported marker type for the exact model. Do not assume that every white-looking surface is magnetic or that magnets supplied with another board will be appropriate. If magnetic accessories are part of your plan, confirm the stated capability and any limits in the manufacturer documentation. A picture showing a paper note on a board is not a substitute for a specification.
Choose markers, erasers and cleaners according to the board instructions. Permanent markers, abrasive pads or an unsuitable chemical can damage some surfaces. Avoid copying a cleaning remedy intended for a different material. Start with the recommended process and test an ordinary writing-and-erasing session during the return evaluation. If faint residue remains, consult the maker's care guidance before increasing pressure or trying stronger chemicals. A claim of easy erasing does not establish performance with every marker or storage condition.
Check what is actually included. A tray may be part of the frame while markers, magnets and an eraser are separate purchases. Compare accessory storage against your workflow: loose items can fall during movement, and a crowded tray can get in the way of handling. Keep supplies accessible without using the frame as a storage rack. Total purchase cost should include the supported accessories you need, but current prices and bundle contents must be confirmed with the seller.

Review assembly and adjustment before buying
Download the assembly instructions before placing the order if they are available. Check the tools, hardware sequence and whether the manufacturer recommends more than one person for handling. A large flat panel can be awkward even when its weight seems manageable. Assemble it in a clear space using the instructed method, and do not improvise a support position that could damage the surface or frame. Keep the packaging until the board has passed an initial inspection and ordinary-use evaluation.
Pay attention to caster attachment, frame connections and any adjustment or pivot locks. Tighten components only as directed and use the specified hardware. Missing parts or a bent bracket should be resolved with the supplier rather than compensated for with unrelated fasteners. If a board has adjustable height or a reversible panel, understand the supported procedure before trying it. Pinch points and moving parts deserve deliberate handling, not a hurried demonstration while other people stand close by.
Wheel locks and other restraints are features to operate according to the manual, not a guarantee that a board cannot move or tip. Verify what the locks control and how the maker instructs you to secure the board during use. Do not lean on the surface, hang heavy bags from the frame or allow climbing. If the intended users cannot follow the operating procedure consistently, reconsider whether a mobile board is suitable for that setting rather than assuming more locks solve every risk.
Make the board readable during real sessions
Position the board where participants can see it without blocking circulation. Check reflections from windows and ceiling lights; a dry-erase surface can be difficult to read when a bright source reflects toward the group. Try the intended position at the time of day the room is normally used. A surface finish may behave differently in another room, so avoid assuming a showroom photograph proves visibility. Larger lettering and deliberate spacing often matter as much as board dimensions.
Use a simple writing structure: a clear heading, enough room for changes and a limited number of items visible at once. Choose marker colors that participants can distinguish at the actual viewing distance. If the board carries tasks over several days, agree which areas can be erased and who updates them. This prevents a mobile board from becoming a crowded collection of unrelated notes that no one trusts. Photograph or transcribe important decisions with appropriate permission before clearing the surface.
Remote visibility requires its own test. A camera framing the whole room may not show small board writing clearly, and changing the view can make local faces less useful to remote colleagues. Test the intended workflow with a remote participant, not only with the local group. If fine details are essential, another method may be needed; the document-camera guide offers a related category to investigate without establishing compatibility with your meeting system.

Establish a care, movement and storage routine
Assign responsibility for basic upkeep in a shared room. Follow the manufacturer instructions for cleaning intervals and materials, and keep the correct supplies nearby. Erasing after a session can make the next meeting easier, but do not use a universal chemical recipe or claim that every surface resists residue equally. Check the writing area and tray for loose items before movement, and remove anything that could fall or distract the person handling the board.
Move the board only as instructed, with a clear route and appropriate help when needed. Keep hands away from pivot and adjustment mechanisms unless performing the documented procedure. Do not roll an assembled board over obstacles simply to demonstrate portability. In a busy workspace, tell nearby people before moving large equipment and avoid maneuvering it through a crowded discussion. The fact that a board has wheels does not make every move appropriate or safe.
Park it in the agreed location and use the instructed restraints. Periodically inspect accessible hardware and casters according to the care guidance, especially if the board moves frequently. Resolve looseness, damaged parts or a mechanism that does not operate as described before continued use. Do not add improvised weights or modifications to compensate for a problem. A documented maintenance routine is more useful than an unsupported durability promise, because it gives users a clear response when something changes.
Run an arrival check and compare the complete fit
After assembly, inspect the writing surface, frame, tray, wheels and supplied parts against the order. Check documented adjustments without forcing them, then try a short writing session using supported markers. Evaluate visibility from the intended seats and movement along the planned clear route. Keep notes about any concern so the seller or manufacturer can respond to a specific observation. Do not discard packaging or delay reporting damage while hoping ordinary use will resolve it.
Compare the finalists using verified assembled dimensions, usable surface area, floor route, adjustment procedure, supported accessories and care requirements. Include delivery, assembly help and accessories in the total cost without assuming that every bundle contains the same items. Check current return and warranty terms for your region. Choose the board that fits the room and its users with the fewest unresolved requirements; portability is valuable only when the whole working routine, from parking to presentation and back, is practical.
Rolling whiteboard FAQs
Are all rolling whiteboards magnetic?
No. Verify the surface specification for the exact model. A white surface or an accessory shown in a photograph does not establish magnetic capability.
Do wheel locks guarantee that a board cannot tip?
No. Follow the manufacturer instructions for placement, restraints and operation. Do not lean, climb or hang heavy items on the board.
Which dimensions should I compare with the doorway?
Use the full assembled dimensions, including the base, tray and projecting controls. Also check turning space and the complete movement route.
Can I clean the board with any household cleaner?
No universal cleaner is appropriate. Follow the surface-specific instructions and use supported markers, erasers and cleaning materials.
Will a room camera show all the writing clearly?
Not necessarily. Test actual lettering from the remote participant’s view using the intended camera position and software. Local readability does not guarantee remote readability.
What should I check after assembly?
Inspect the surface, frame, casters, tray and supplied hardware. Follow the documented adjustment procedure, test supported markers and evaluate the planned clear movement route.