

Quick guide: organize the route, not just the bundle
Start with the cables and connectors you actually use. Reusable ties suit changing bundles, clips keep individual leads reachable, and trays support larger external desk runs. Measure the route and mounting surface before buying.
Shut down and unplug affected equipment before installation, follow each manufacturer's instructions, retain gentle bends and slack, and keep vents and moving parts clear. Internal PC routing needs the case manual; never open a power supply enclosure.

- Large 3 by 2 inch channel accommodates multiple cables.
- Open slot design makes individual cable routing much easier.
- Removable cover keeps routed PC cables neatly concealed.
- PVC construction provides durable protection for organized wire runs.
- - Eight 6.5 foot sections support extensive cable management installations.


- Under desk mounting keeps cables hidden above the floor.
- Large tray holds power strips and multiple computer cables.
- Open design provides convenient access when changing connected devices.
- Metal construction provides sturdy support for heavier cable bundles.
- - Elevated cable storage makes PC desk cleaning much easier.

- Expandable design follows standing desk height adjustments more naturally.
- Vertical cable routing keeps loose wires away from floors.
- Flexible segmented structure moves smoothly as desk height changes.
- Multiple cables can travel together through one organized pathway.
- - Standing desk focused installation helps prevent stretched computer cables.

- Open slot design allows cables to exit at multiple points.
- Enclosed raceway keeps computer wires grouped and neatly protected.
- Removable cover provides convenient access for future cable changes.
- Raceway design supports cleaner routing behind desks and computers.
- - Durable plastic construction creates a structured pathway for wiring.

- Fabric organizer keeps power strips and cables above floor level.
- Under desk placement hides bulky wiring from normal viewing angles.
- Spacious storage area accommodates adapters and excess cable length.
- Soft fabric construction avoids the rigid feel of metal trays.
- - Open access makes adding or removing computer cables straightforward.

- Under desk design keeps loose PC cables off floors.
- Spacious organizer accommodates power strips and bulky power adapters.
- Open construction keeps connections accessible during hardware upgrades.
- Sturdy tray provides dedicated storage for excess cable length.
- - Elevated cable organization reduces interference with feet and chairs.
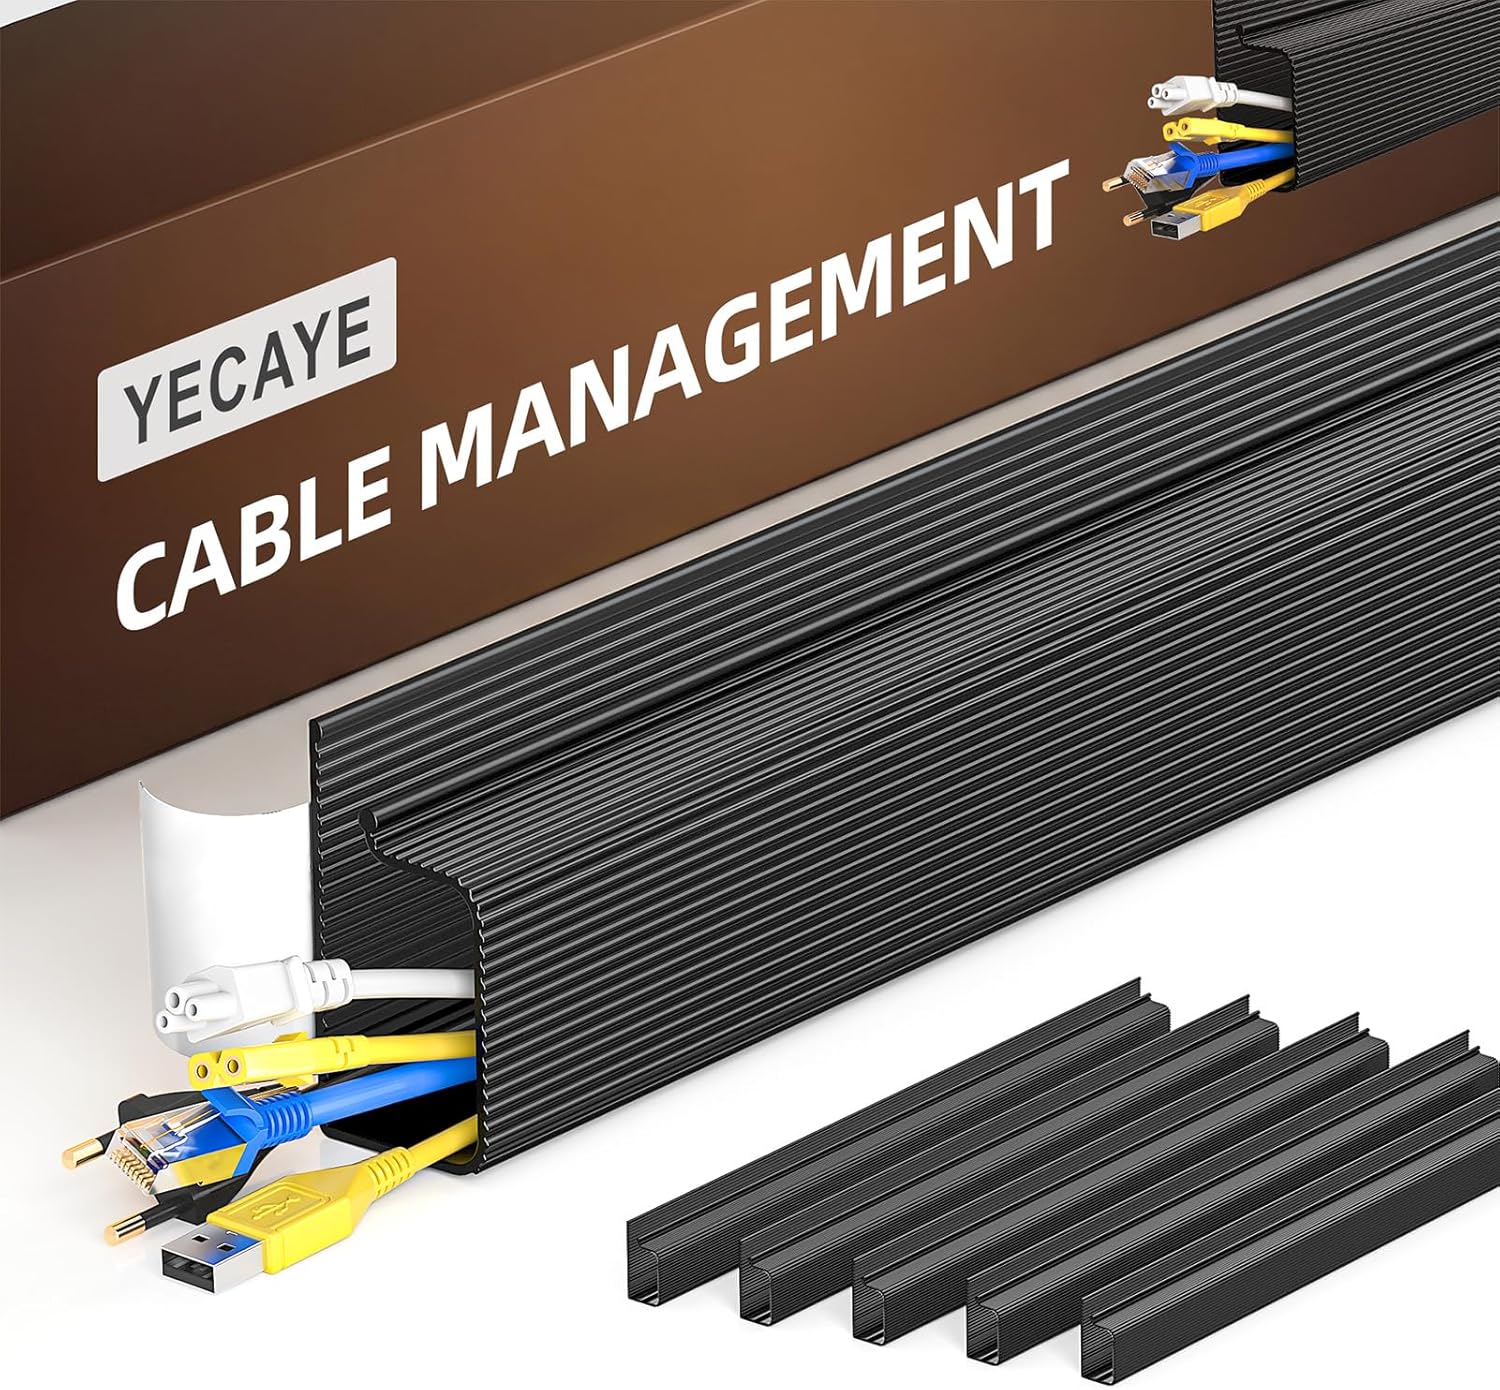
- Large channel design accommodates several computer cables together.
- Enclosed raceway conceals loose wires for cleaner PC setups.
- Removable cover keeps routed cables accessible for future changes.
- Wall or desk routing keeps wiring away from floors.
- - Structured cable pathway helps reduce tangled workstation connections.
Plan the cable route before choosing the organizer
Good PC cable management makes everyday connections easier to reach without pulling on plugs, blocking ventilation or turning maintenance into a puzzle. Start with the actual problem: a charging lead that falls behind the desk, a bundle around your feet, loose display cables or excess length near the tower. These are different jobs. A small clip can solve the first; a tray may help the second. Buying a large assortment before measuring often leaves useful cables hidden and unsuitable accessories unused.
Make a simple inventory of what stays connected and what moves. Include the monitor, keyboard, mouse, speakers, network connection and any external storage. Identify both ends of each cable and note which connector must remain accessible. Photograph the current layout before disconnecting anything. This gives you a reference when similar-looking leads need to return to particular ports, but do not rely on connector appearance alone to establish electrical compatibility.
Keep PC-internal routing separate from desk organization. The case manual governs supported routing channels, clearances and installation procedures. If you are unsure about opening a case or moving components, use qualified help. Never open a power supply enclosure. The conceptual illustrations here show external planning and organization, not instructions for servicing energized equipment.
Match ties, clips, sleeves and trays to the job
Reusable hook-and-loop ties suit groups that you may change later. Choose enough length to close comfortably around the bundle without compressing cable jackets. A tie should gather cables, not force them into a tight bend or make a heavy connector hang from its socket. Small clips are useful where an individual lead needs a predictable resting place, such as a charging cable near the front of a desk. Check the clip opening against the actual cable diameter rather than assuming one size fits everything.
Sleeves can make a visible run look calmer, but think about access at both ends and along the route. A split sleeve may make additions easier than a closed tube, depending on its design. Do not enclose heat-producing adapters or conceal a damaged jacket simply to improve appearance. Trays support runs beneath the desk; channels can suit a fixed edge or wall route when their installation instructions and your surface permit it.
For a larger under-desk run, the under-desk cable management tray guide offers another format to compare. Measure the available mounting area, the bundle and the connectors before selecting a tray. An organizer that fits a straight cable may not accommodate a bulky plug or an accessible service loop.

Measure real paths, not just straight-line distances
Lay out the route with equipment in its normal position. Follow the back of the desk, approved clips or existing openings rather than measuring a diagonal through empty space. Allow a gentle curve into each connector and enough slack to unplug it without dragging the device. A route that appears perfect while the tower is pushed against a wall may become strained when you move it for cleaning. Plan for that ordinary movement before tightening the first tie.
Check bends against each cable or equipment manufacturer's instructions. There is no single bend radius that can safely be assigned to every PC cable. Avoid sharp furniture edges, pinched paths behind drawers and routes beneath chair wheels. If a grommet or protective edge treatment is needed, select an appropriate product rather than improvising a sharp cutout. Do not drill into a desk without confirming its material, hidden components and the mounting product's instructions.
At a height-adjustable desk, the route must accommodate the full intended travel. Follow the desk manual, keep cables away from lifting columns and mechanisms, and check slack through the movement only when it is safe to do so. Never place fingers near moving parts or use an organizer as a substitute for sufficient cable length. A static tidy photograph cannot prove a moving route is safe.
Install with power off and preserve ventilation
Before installing or rearranging cable accessories, shut the PC down, disconnect it from mains power and unplug other affected equipment as its manufacturer directs. Follow the manuals for handling, disconnection and any required waiting period. Do not rearrange energized power connections. If a cord, plug or outlet shows damage, stop using it and seek appropriate qualified advice rather than wrapping, taping or hiding the defect inside an organizer.
Keep intake and exhaust vents clear. A cable tray should not force the tower against a wall or encourage a bundle across a fan grille. Allow the equipment's specified clearances; an organizer does not change those requirements. Similarly, do not pack adapters and excess cords into a closed box unless the equipment and organizer instructions support that arrangement. Neatness is not a reason to conceal heat-producing items or disregard ventilation.
Install accessories only where their mounting method is appropriate. Adhesive pads depend on surface finish, preparation, load and the manufacturer's curing instructions. A screw-mounted tray needs a compatible surface and suitable fixings. Check that screws cannot reach hidden wiring or components. After installation, verify that the support carries the bundle's weight without putting that load onto a device's connector. Leave safe access for disconnection and routine inspection.
Keep important connections reachable and identifiable
Group cables by their destination and maintenance needs rather than bundling every lead into one dense rope. A keyboard or mouse that rarely moves can follow a stable path; a laptop dock or removable drive may need a separate accessible branch. Leave the connector body reachable so you can disconnect it correctly. Pulling on a cable jacket because a plug is buried defeats the purpose of an organized setup and can create avoidable strain.
Use simple removable labels near both ends where they are helpful. Choose wording that identifies the device or function without exposing passwords, account details or other private information. Check that labels do not interfere with latches, vents or connector seating. Do not assume two matching plugs provide the same power or data function: retain the correct equipment cables and consult the exact manuals when changing a connection.
If your desk uses a hub, the USB-C hub guide for office laptops can help frame the connection questions. Verify the exact hub, computer, operating system and cable before changing the setup. A tidier route cannot add unsupported display output, charging or data capabilities. Keep a simple connection map so future troubleshooting starts with known endpoints rather than guesswork.

Organize excess length without making servicing difficult
When a cable is longer than the route needs, leave a relaxed, accessible loop where the equipment instructions permit it. Avoid tiny coils, overtightened straps and piles beneath feet or wheels. Do not assume a practice suitable for a thin data lead is suitable for a mains extension cord. Follow the cord and equipment guidance, including any instructions about fully unwinding a reel or avoiding bundled use. Cable management is not an electrical load assessment.
Keep frequently removed items outside the permanent bundle. A portable storage cable, headset lead or travel charger is easier to manage in a small designated area than threaded through several sleeves. For leads that are not currently connected, the cable organizer bag guide covers a different storage approach. Store cables dry and protect connector ends; inspect them before reuse rather than assuming a tidy pouch guarantees good condition.
Leave access to tray fasteners and sleeve openings. You should be able to remove one cable without dismantling the entire desk. Consider how you would replace the monitor or move the PC before committing to a fixed channel. Where several short segments solve the problem, they may be more serviceable than one continuous enclosure. Select the route for your maintenance routine, not only for the cleanest front-facing picture.
Test the finished setup one connection at a time
Before reconnecting power, inspect the complete route. Check for trapped jackets, strained plugs, unstable accessories and cables near sharp edges or moving furniture. Confirm that ventilation and the manufacturer's required clearances remain available. Make sure the desk can be used normally without knees catching a dangling loop. If you cannot see or reach an important connector, reconsider that branch now rather than after a fault appears.
Reconnect according to the equipment instructions, then confirm each device's ordinary function. Check keyboard and mouse operation, the display, network connection and any external storage you use. Do not infer a cable defect from one symptom: a changed port, output selection or application setting can also explain a problem. Return to your connection photograph and test methodically. Avoid moving energized electrical connections while chasing an intermittent issue.
After the first normal work session, inspect the mounting points and cable positions again. A pad beginning to lift, a connector pulled sideways or a tray sagging under its load is a reason to stop and reassess. Do not add more ties to compensate for an unsuitable support. Keep the product's instructions and any relevant hardware specifications so replacement parts can be selected on evidence rather than visual similarity.

Build a small maintenance routine
Cable management should remain reversible. After adding or removing equipment, update labels and check the route instead of leaving an abandoned lead buried in a sleeve. Periodically look for wear where cables meet clips, desk edges and connectors. Follow equipment instructions for cleaning and shutdown; avoid spraying liquids into cables or connected devices. A dry external inspection is not a substitute for professional attention when there is electrical damage or abnormal heat.
Keep spare ties and a record of the mounting locations, particularly if adhesive accessories may need careful removal. Read removal instructions before pulling a pad from a finished surface. For rented furniture or a temporary desk, favor methods permitted by the owner and product guidance. There is no guarantee that a supposedly removable adhesive will leave every finish unchanged.
Your final shortlist should answer four practical questions: does the organizer fit the actual cable and connector sizes, does its mounting method suit the surface, does the route retain safe slack and clearances, and can you service the setup later? Start with the smallest combination that solves those needs. A tidy PC workstation is useful when it supports safe operation and easy changes, not when it hides every connection at any cost.
PC cable management FAQs
Should I use reusable ties or plastic cable ties?
Reusable ties are useful for bundles you change regularly. Either type must suit the cable and route; do not tighten it enough to compress jackets or force sharp bends. Follow the accessory and equipment instructions.
Can cable management improve PC cooling?
Keeping cables away from vents and fans supports the equipment's intended airflow path, but an organizer does not guarantee lower temperatures. Retain the clearances and routing specified by the equipment manufacturer.
Do I need to unplug the PC before organizing cables?
Shut the PC down and disconnect it from mains power before installation or rearrangement, and follow the instructions for all affected equipment. Do not work on energized connections or open a power supply enclosure.
Are adhesive clips suitable for every desk?
No. Suitability depends on the surface finish, preparation, load and the clip manufacturer's instructions. Check installation and removal guidance; removable adhesive is not guaranteed to leave every finish unchanged.
How much slack should I leave at a standing desk?
Allow the full intended desk travel without pulling connectors or entering moving parts, following the desk and equipment instructions. There is no universal slack length because desk travel, equipment placement and cable routes differ.
Can I hide power adapters inside a cable box?
Only use an enclosure in a way supported by the adapter, equipment and organizer instructions, including ventilation and clearances. Do not pack heat-producing adapters into a closed box or hide damaged cords for appearance.